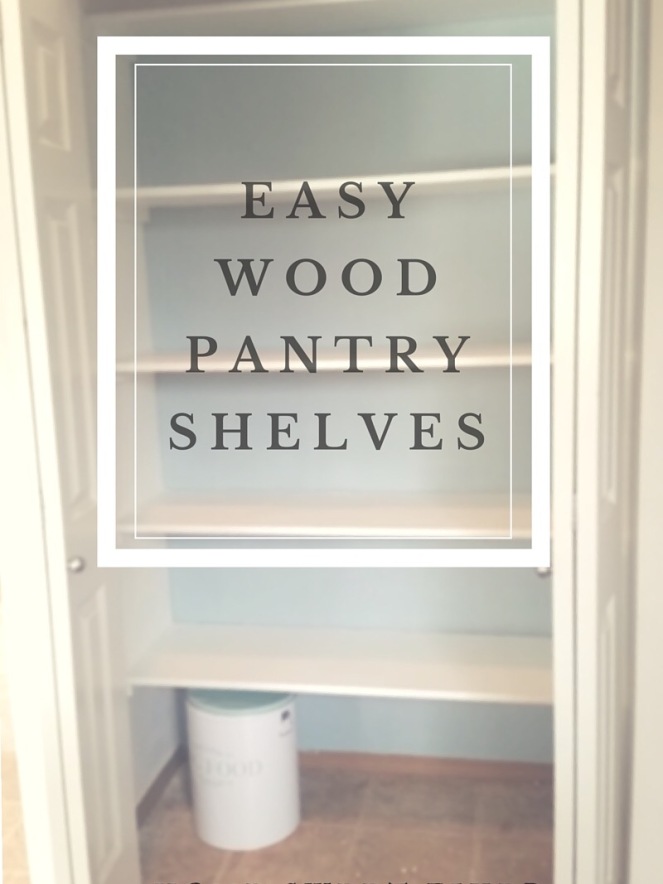
One of the first projects we did when we moved into our new Washington house was to take out the yucky wire shelves in the kitchen pantry. We bought our house as a foreclosure so it hadn’t had a good clean before we moved in. The pantry shelves were sticky and dirty. Yuck! So I didn’t want to stock it full of food until we cleaned it up. I knew I wanted wood shelves in there anyway so after some begging negotiating, Kyle agreed to start demolition!

He tore out the old shelves which were nailed to the walls using hardcore plastic shelving hooks (those things laying on the floor by Kyle’s feet). Those left some major holes in our drywall, but I was just happy to have these dirty wire racks out of there! Of course I didn’t take a full on before picture  Terrible blogger! I was just so excited to get started! Just know that these dirty shelves are what came out of the pantry.

We already had a bunch of shelf boards stacked in the garage that we brought home in our rented Uhaul when we first got to Washington. When we left Utah, we sold our truck (bucket seats aren’t good for babies) and knew we wouldn’t have an easy way of getting big purchases home in the future. We knew we wanted to add shelving to a lot of rooms in the house so we stocked up on 12″ and 16″ boards. With all that, we were ready to go! To get the most out of what little pantry space we have, I drew up this super sophisticated diagram, showing the wider boards at the bottom for deep shelf space and one narrow shelf across the top so it would be easy to reach up there for things like extra paper towels.

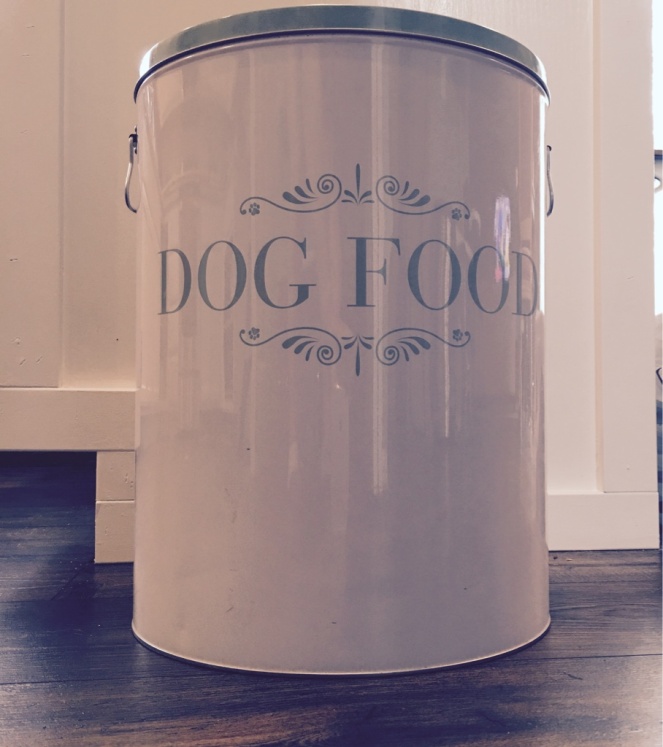
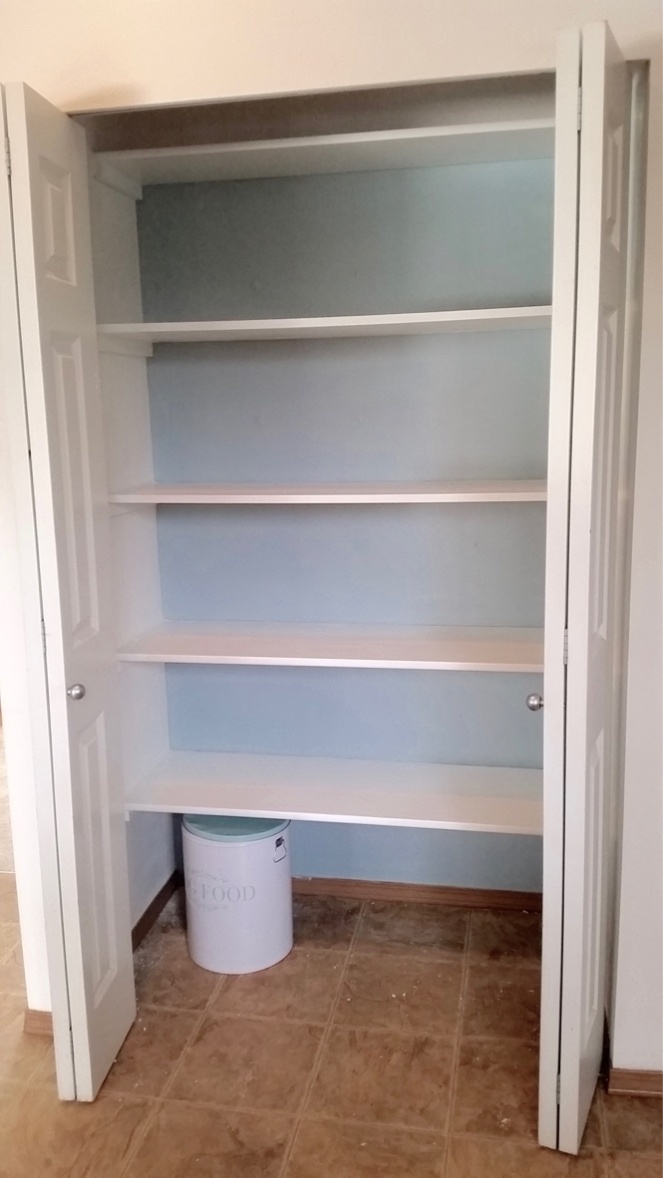
There would be 5 shelves total with a gap underneath big enough to store the cute dog food tin I got at Home Goods last year.
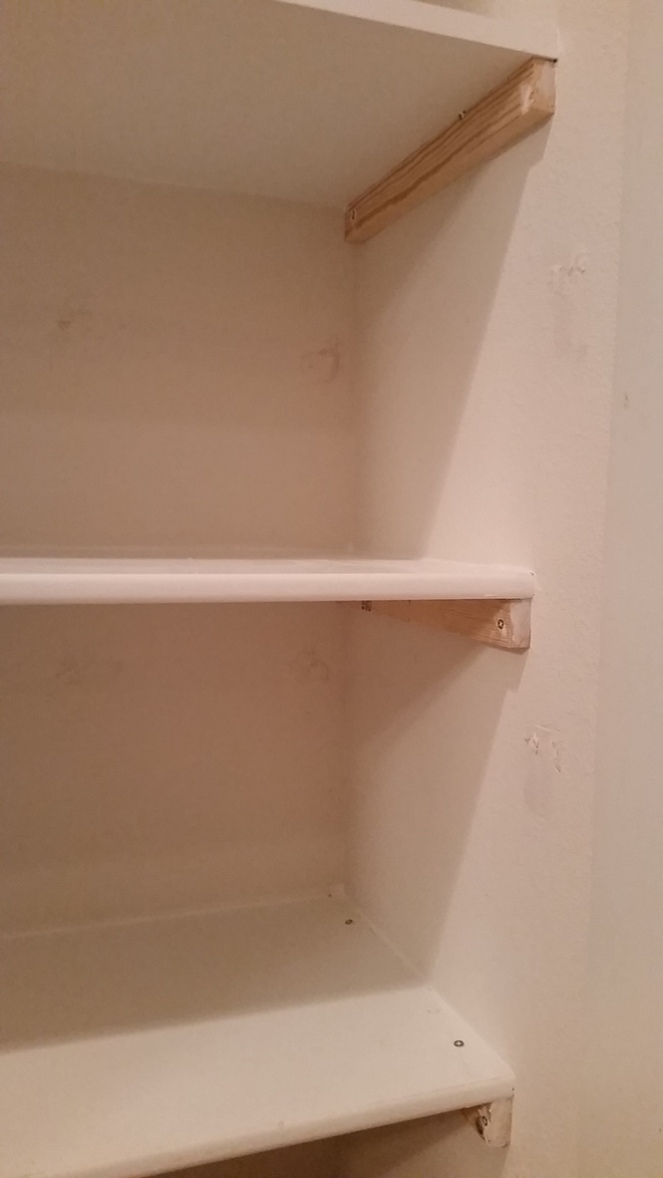
To hold up the shelves we needed some supports. Ta-da! 1 x 2’s cut into 12″ pieces, and two supports cut to 10″ for the narrow top shelf.

I always tell myself, “Hey, take some time to paint those things BEFORE you screw them into the wall,” and well, I almost never do. We were so busy unpacking and trying to get things livable we just put everything up and decided to work on the painting later. Here’s a photo of how the dining area and hall looked when we first moved in…and that toilet with the seat up ![]()
Learn from my mistakes: when you can, paint things FIRST before sticking them to the wall so you don’t have to do so much cutting in and/or taping off later. This has been a Little Case Family public service announcement. Now moving on….
We had to figure out where to put the first (bottom) shelf and how to keep it a uniform height off the floor all the way across. We decided to just use the dog food can as our starting height. We set the first shelf support on top of the tin, made sure it was level and then screwed it in. The shelf would sit on top of the supports so we knew the tin would still fit under there once it was all done.

From there we just used one of the 12″ 1 x 2’s stacked vertically on top of this support to measure where the next shelf should go, like this:

That means all of our shelves are spaced 1 foot apart. We used the same 12″ support as our guide as we worked our way up the wall, just to make sure our measurements stayed exactly the same all the way across. Here are the left side supports:

And the right:

See all those holes in the walls??? Yikes! For now we were just focused on shelves though, so we added the final, smaller (10″) shelf supports to hold up our top shelf.

It is SUPER important to make sure your supports are level to the wall and to each other all the way across so that when you slide the shelves in they sit level. Nobody wants a fun house for a pantry! Take a second now to make sure everything is good so that you don’t have spaghetti sauce and chicken broth rolling off the shelves later.

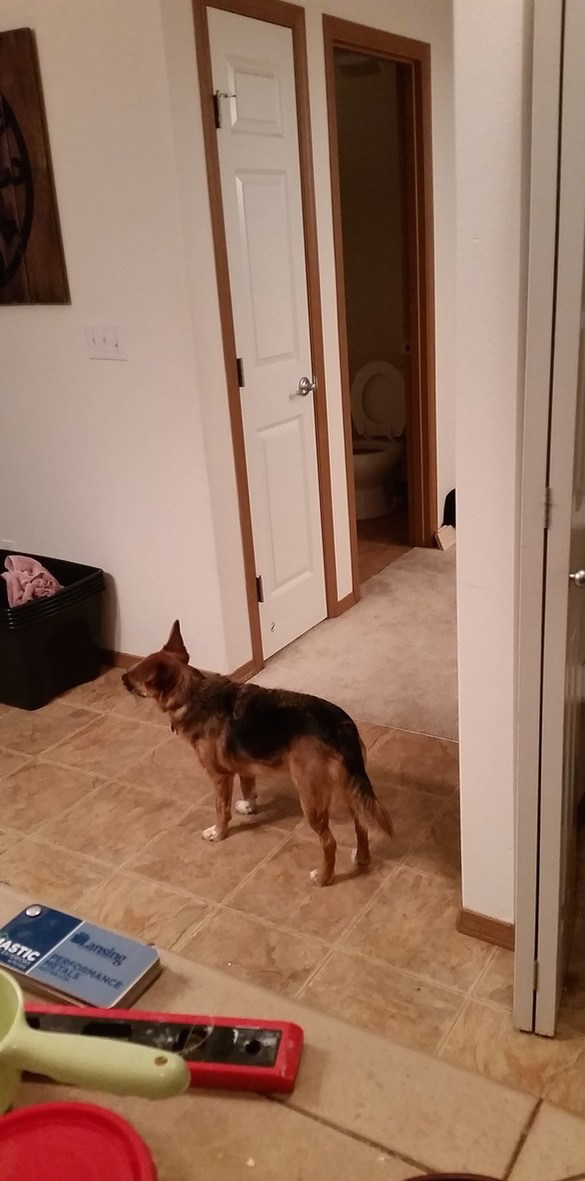
We were really making progress and I couldn’t wait to get the shelves in! Of course this little guy had to come check things out. Looks like he is excited for shelves too since that’s where all his baby food will be!

Measure 5 times…

Cut once!

And they fit! Woohooo!

We set the shelves in place one by one and drilled each one down on onto the wall supports. We have made it to the top!

Let’s dedicate a moment to my hubby’s impressive calf muscles.

Just like an action figure! Now let’s take a moment to ooh and ahh over the new shelves. Ooooooooo!

Time to caulk all the gaps between the boards and the walls.

I just used our trusty old caulking gun to get the job done. I also used this time to patch the holes in the walls, using paintable spackle. Here’s a closeup of the newly caulked shelves.

You’ll want to use wood putty to fill any screw holes in your boards instead of caulk, because once it dries, caulk isn’t sandable like spackle or putty. I caulked underneath all the shelves too so that I would have nice clean lines no matter where you look.
After all that, I just thought it needed some oomph! So I busted out a paint sample jar I had picked up at Lowe’s a while back. It is called Winter in Paris and Valspar makes it. It was getting pretty late by the time I had touched up the white shelves and started painting my accent wall, so the color below isn’t the true paint color.

After about an hour of cutting in around all the shelves (again…painting this wall FIRST, before adding shelving, would have been brilliant!) I was done! The whole process took just one afternoon.The longest parts were patching, caulking a painting. Here it is in all its glory the next morning when the sun was back out.
I love the pop of color! I’ve still got to organize all our food in there and we’ve got big plans to tear out the baseboards and replace the old laminate flooring with wood floors, but I am so glad to have those wire shelves out of the way! I’ll be posting a pantry organization update soon!
What do you think? Pretty simple right?
Update: Here is a photo with the first foods stocked inside the pantry. (Sorry, sort of blurry)

The floor could use a good sweep, but overall we are loving the new shelves! We’ve got a kitchen remodel happening soon, which means new wood floors and new baseboard for this pantry! Can’t wait! Happy DIY’ing everyone!